Custom labels are useful because they allow you to group your products and set up separate campaigns for each group. This will help you improve your campaign performance by narrowing your focus to product groups that sell well or have a high margin. There are standard labels available - such as brand, category, condition and so on- however, customizing the labels yourself will help you control parts of your product feed to ensure the best returns. We'll show you how to structure your product groups using values of your choosing.
To create a custom label, you'll need to log into your ShoppingFeeder dashboard first. Then go to Feed Management -> Manage Labels.
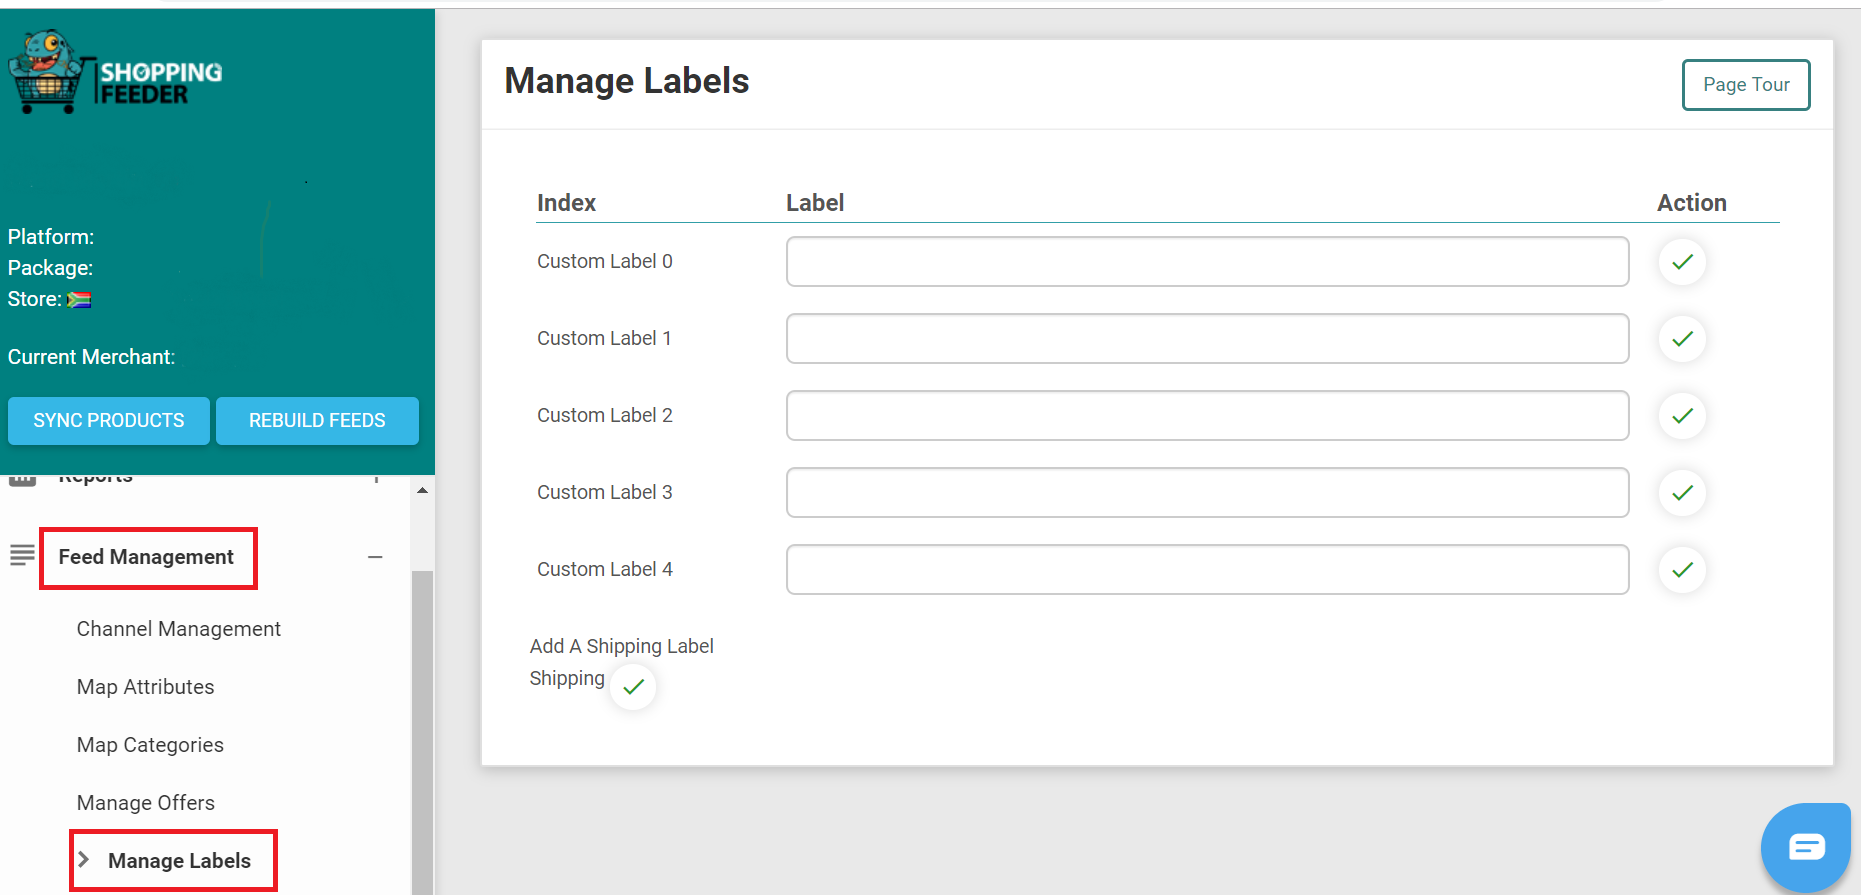
You can add labels by typing in the desired label name in the Custom Label text boxes, then clicking on the check sign to the right. You can add multiple labels at once, as shown below:

Now you're able to categorize products according to the labels you've added. You can group them under types of iPhones, Macbooks, Samsungs or Laptops.
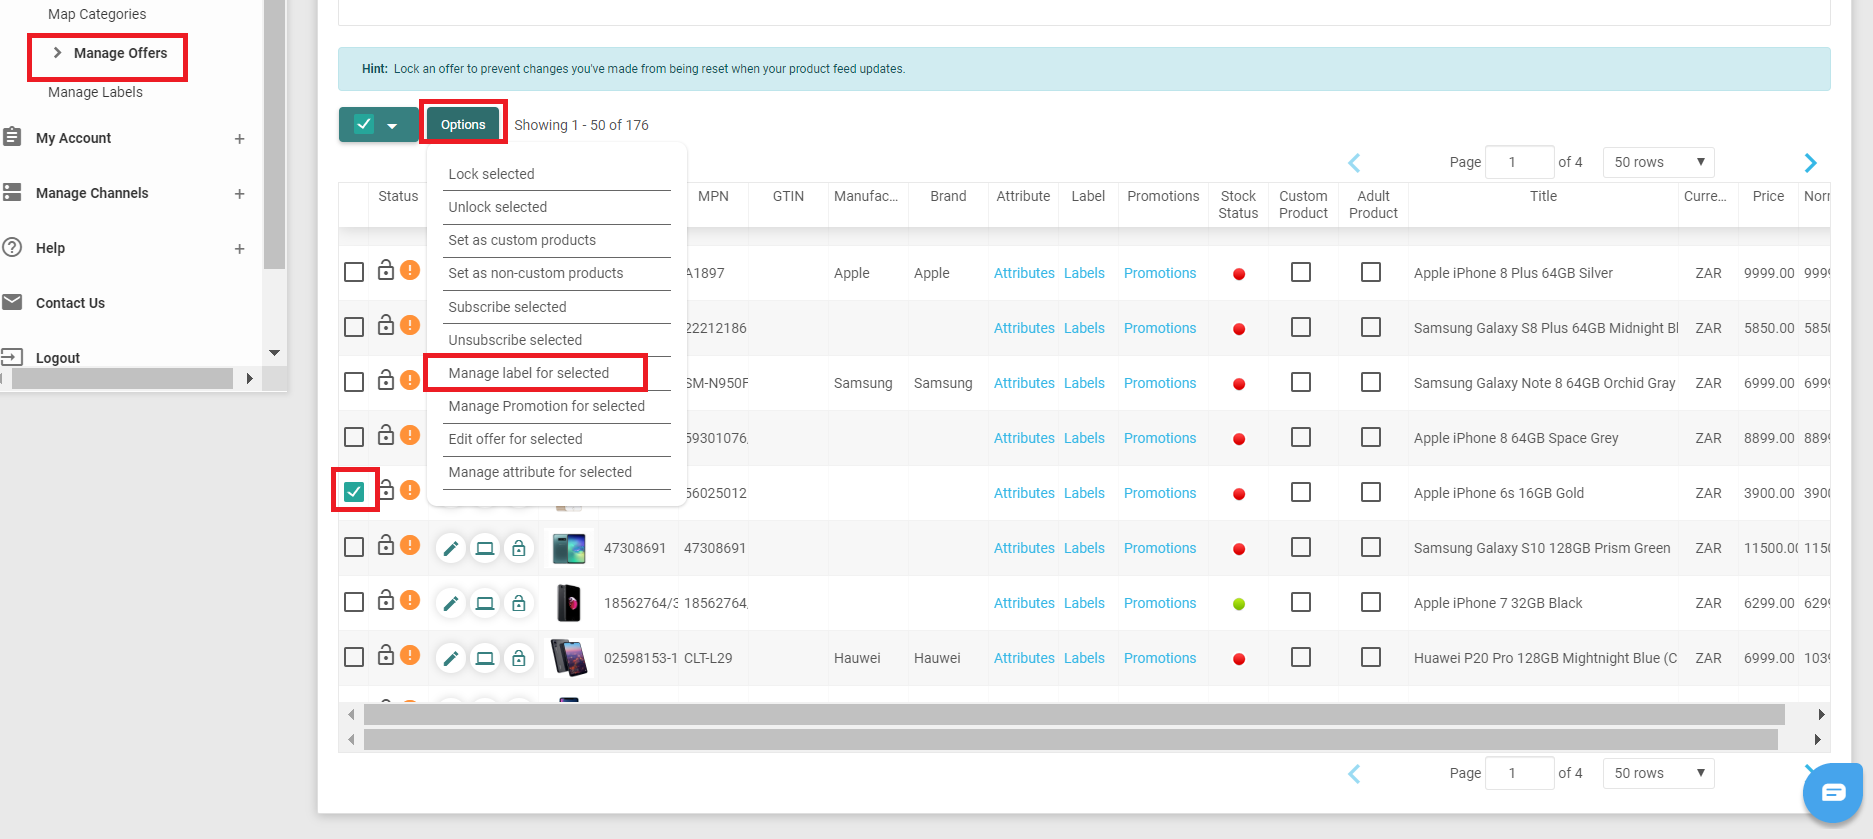
Head to Manage Offers, then select a product and click on Options. From the dropdown list, select Manage label for selected.
You'll be shown a list of all the available custom labels you created. Let's say the product you selected in the previous step is a type of iPhone. You want to be able to see the iPhone model, so you'll need to write in a value next to the Apple iPhone custom label. Click the check button on the right hand side, then click Close.
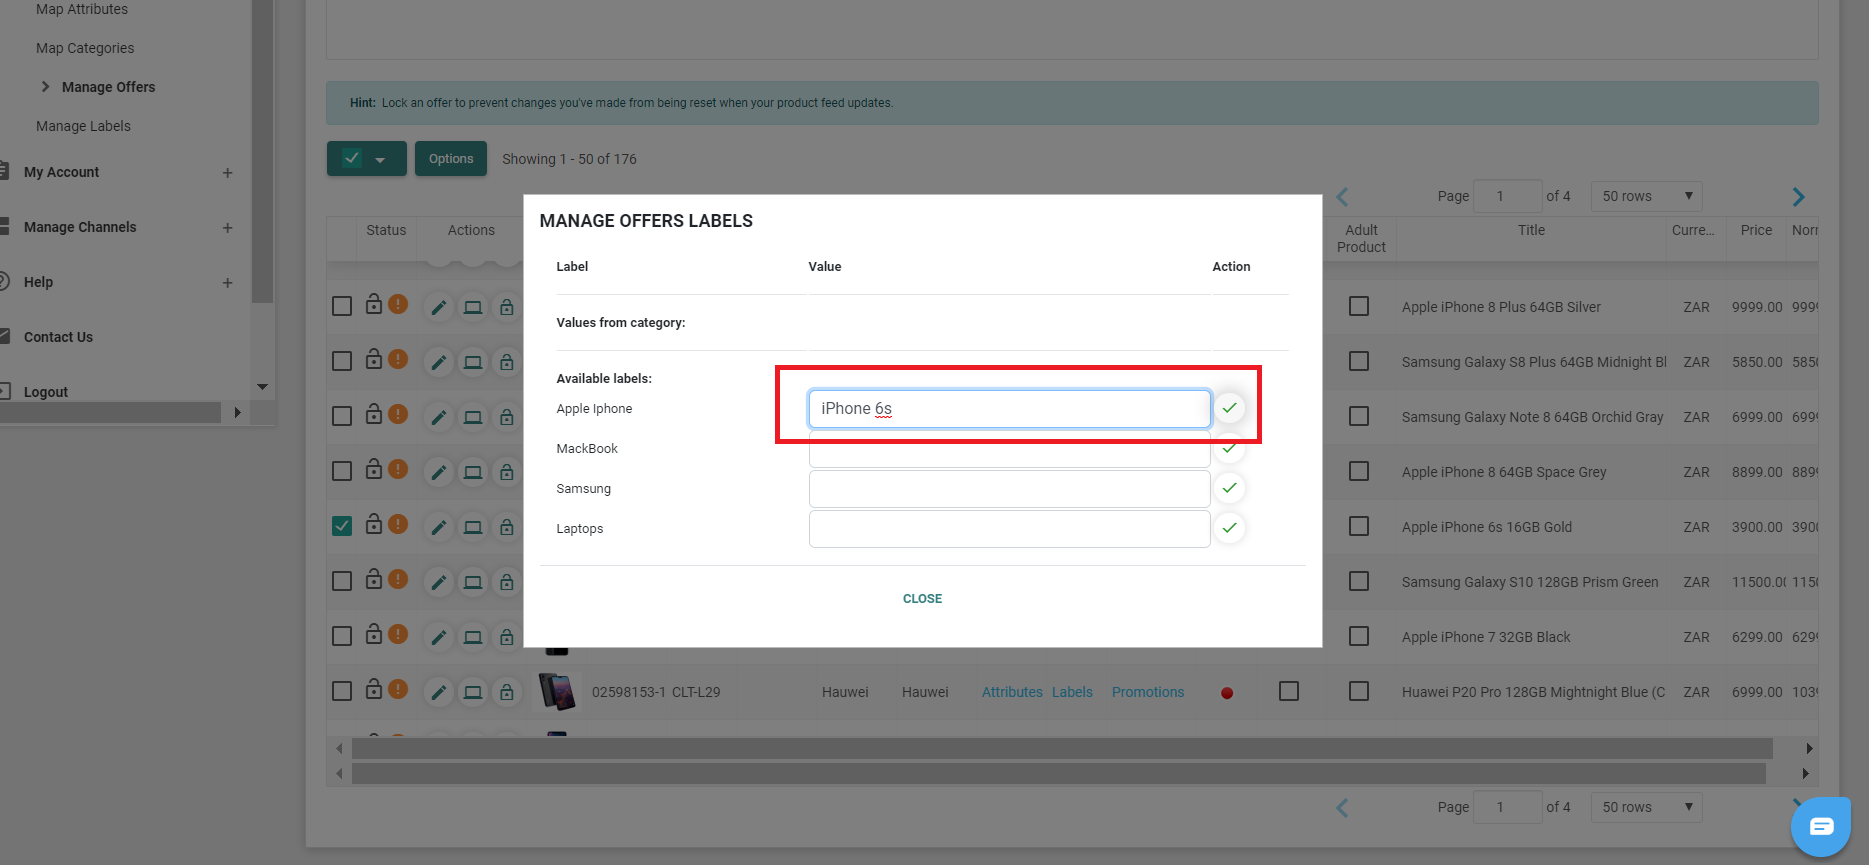
Now your product will be labelled as an iPhone 6s.
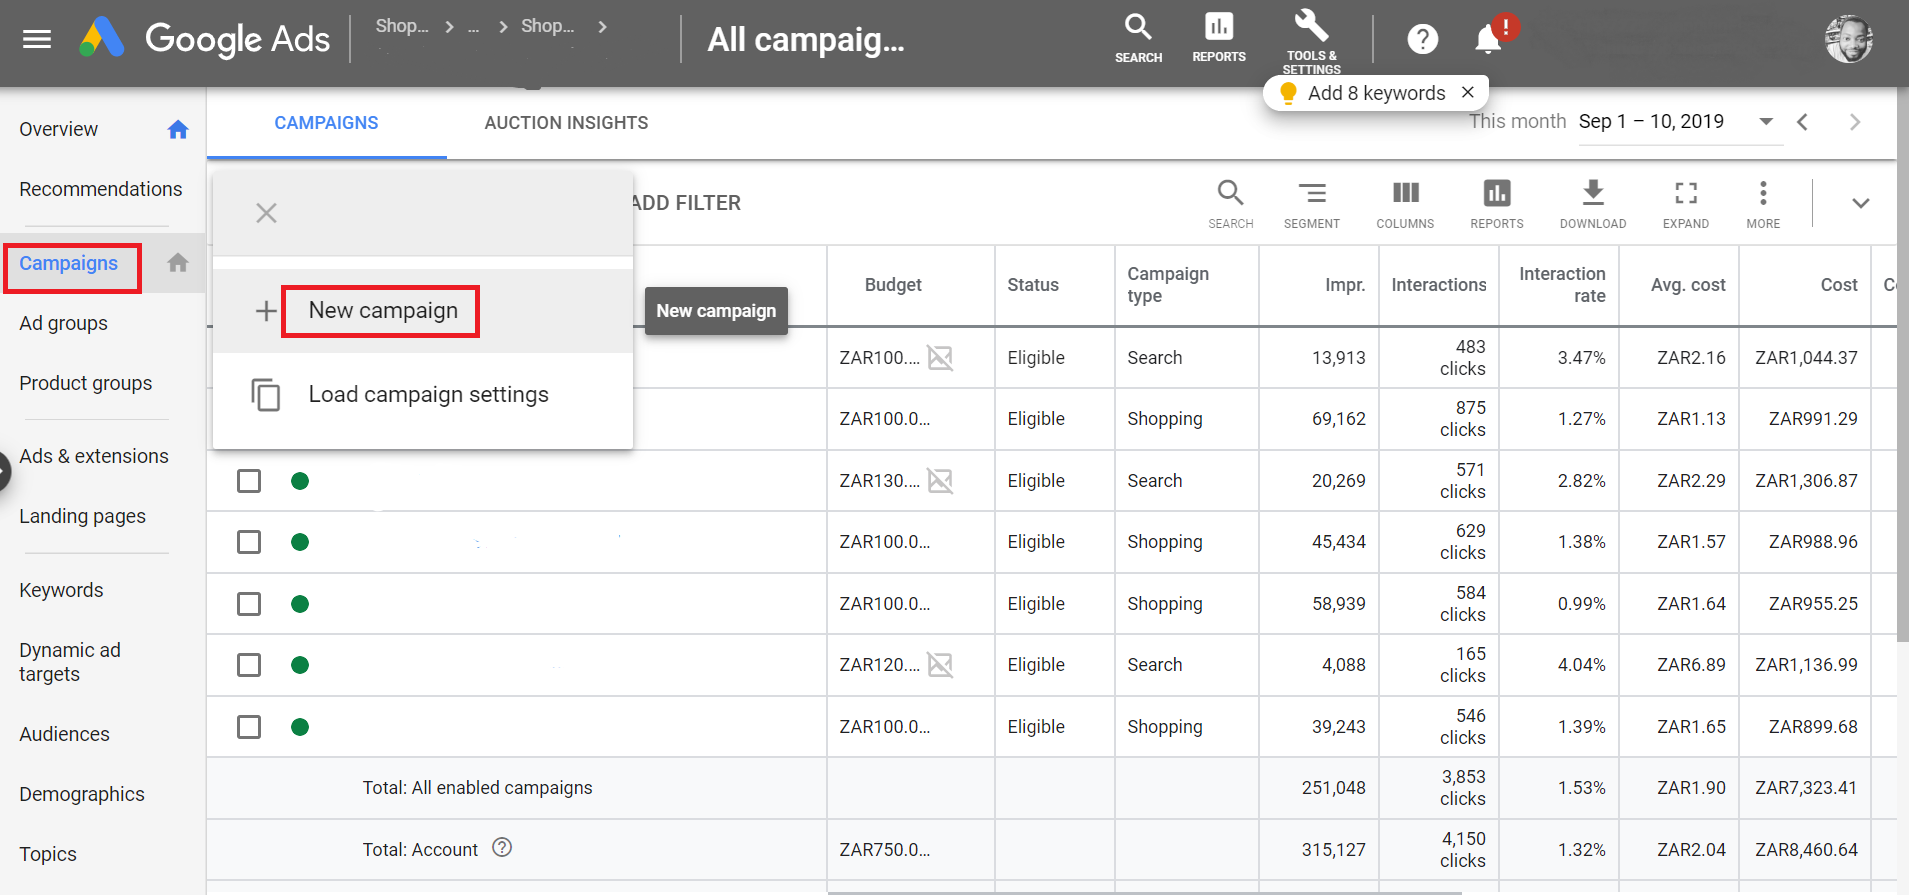
Now that you have labelled your products, log into your GoogleAds account to create a campaign for your specific product group. Go to Campaigns then Add New.
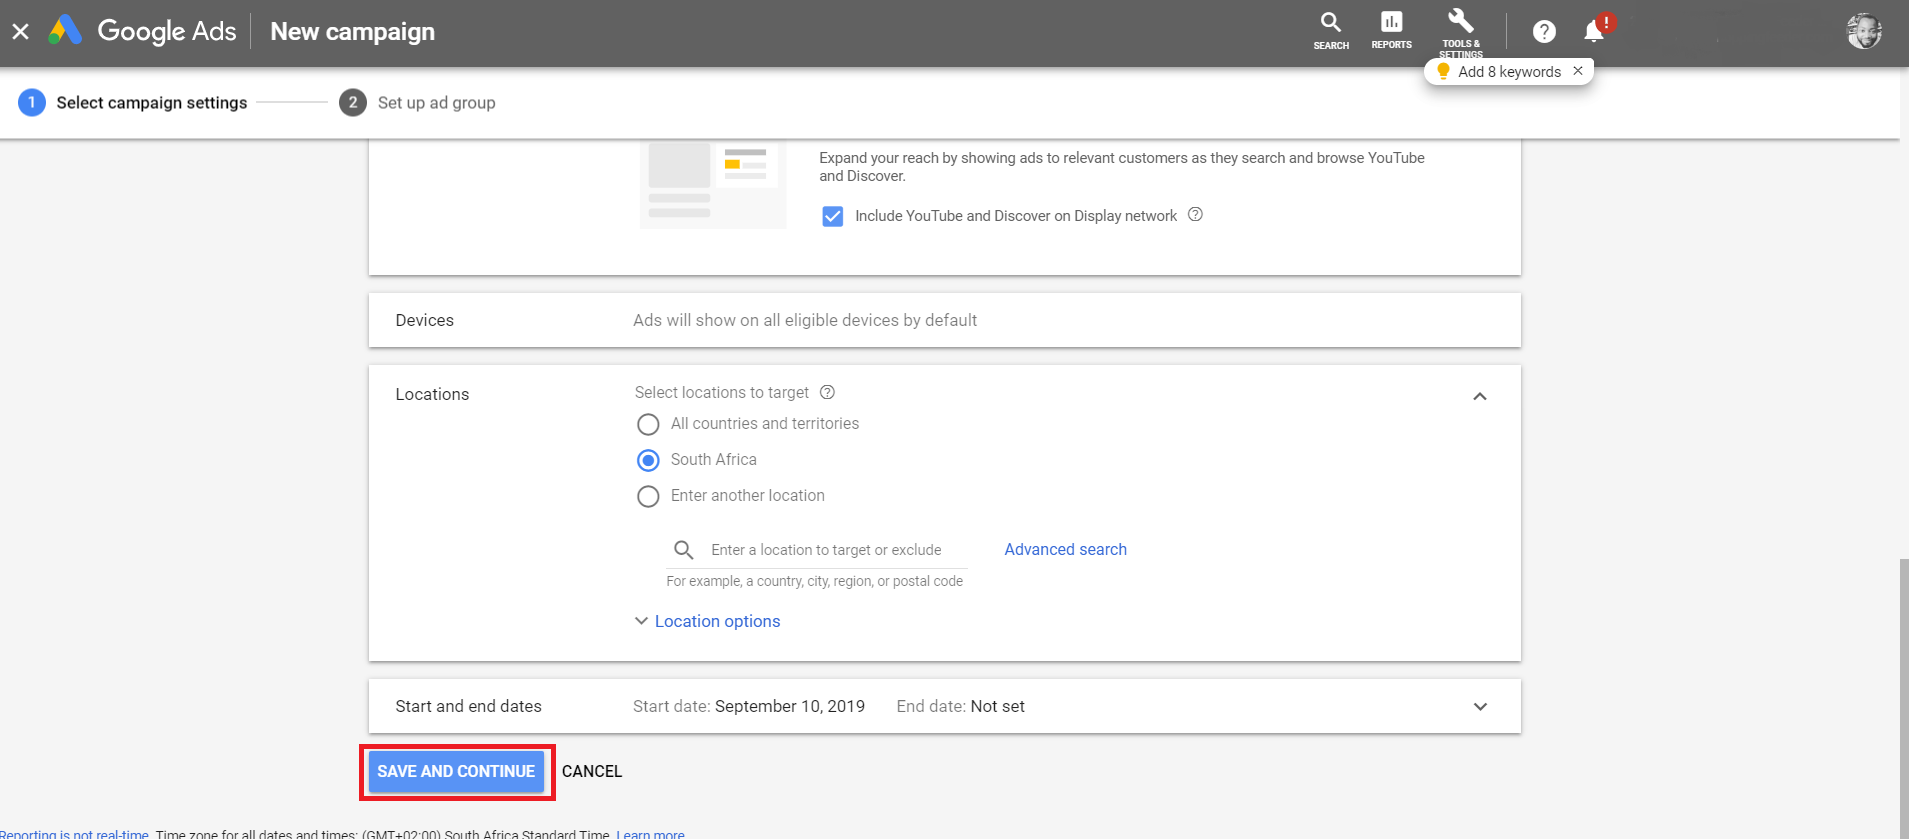
Fill in all your campaign details, then click Save and Continue.
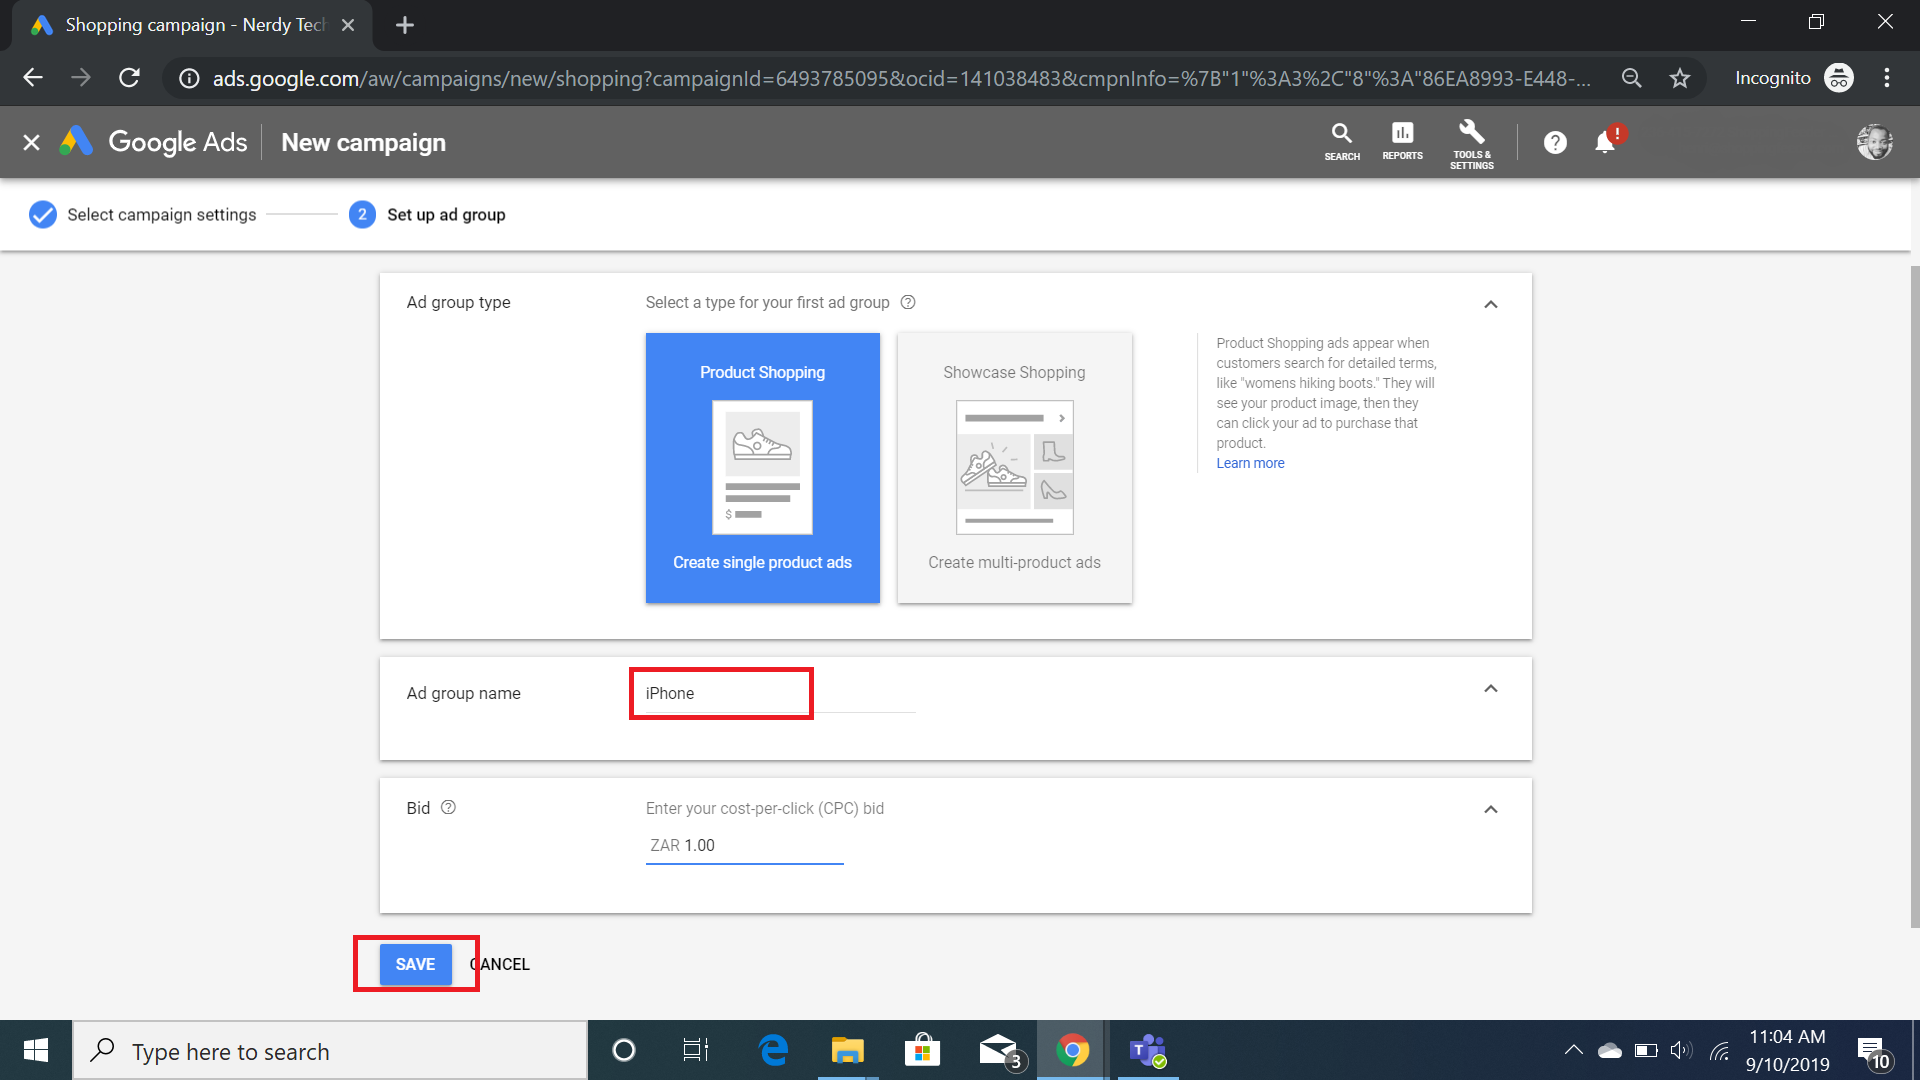
Set up your ad group, then click Save.
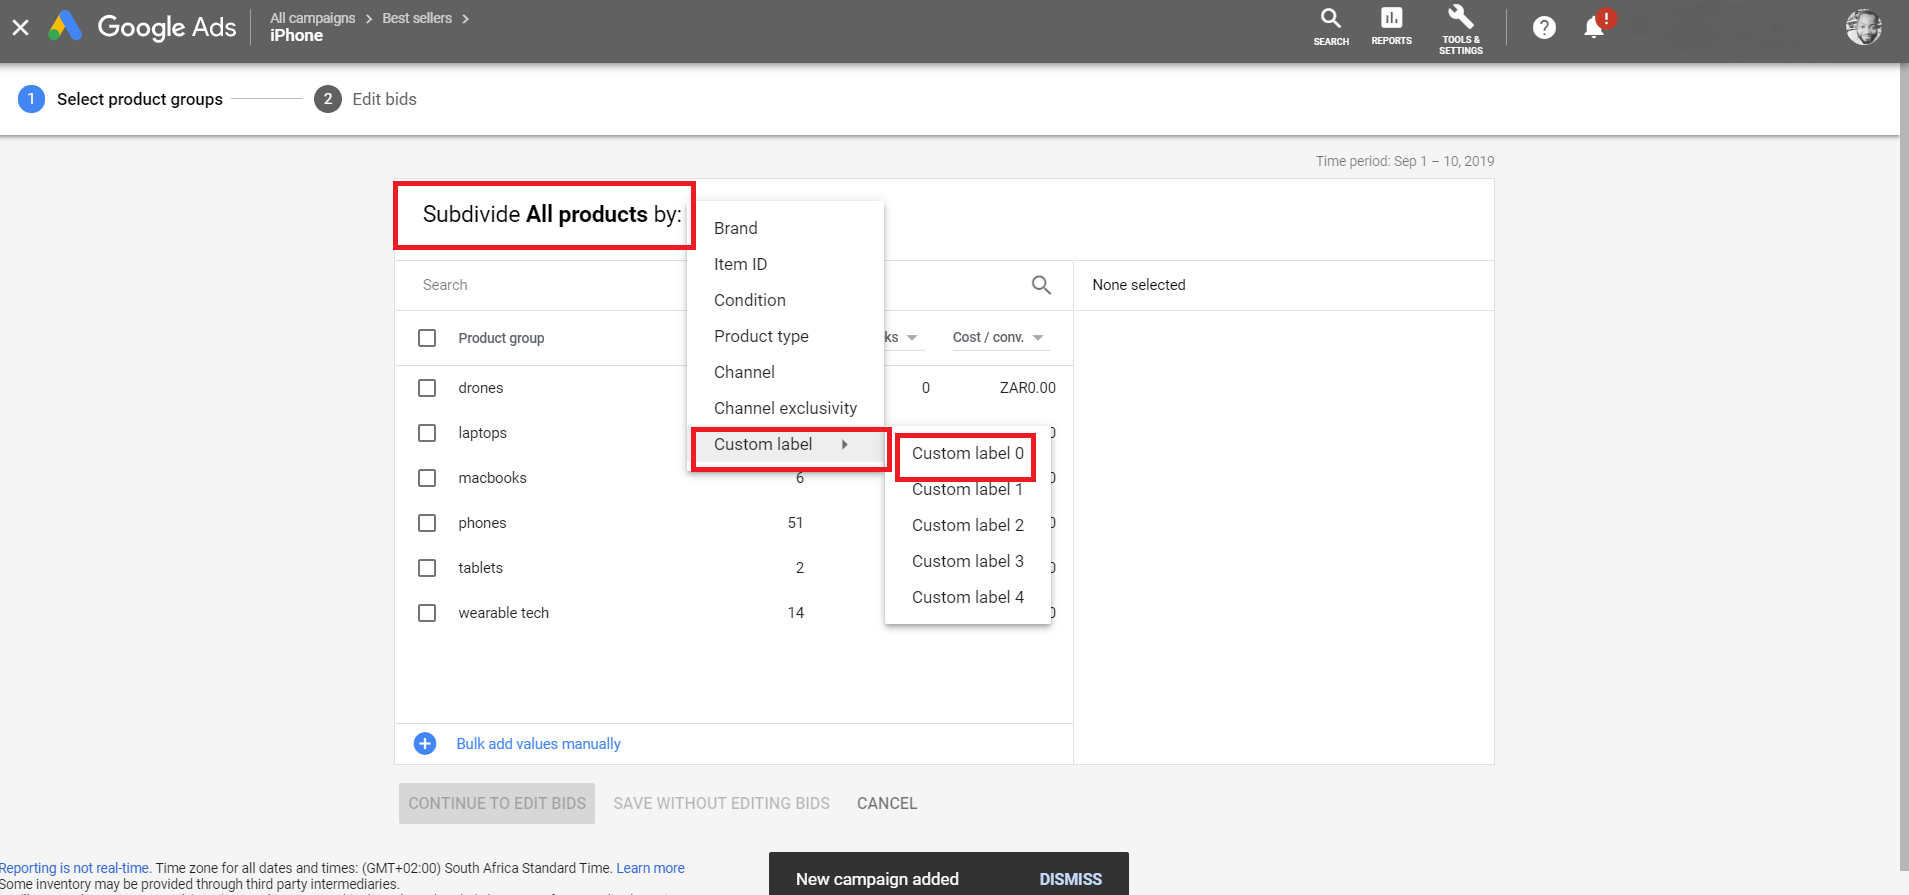
You can select the products you want to include in this campaign by going to Product Groups -> Add Subdivision.

Now you can select the subdivision of your products to include in the ad group. In the dropbdown, subdivide products by clicking on Custom Label 0.
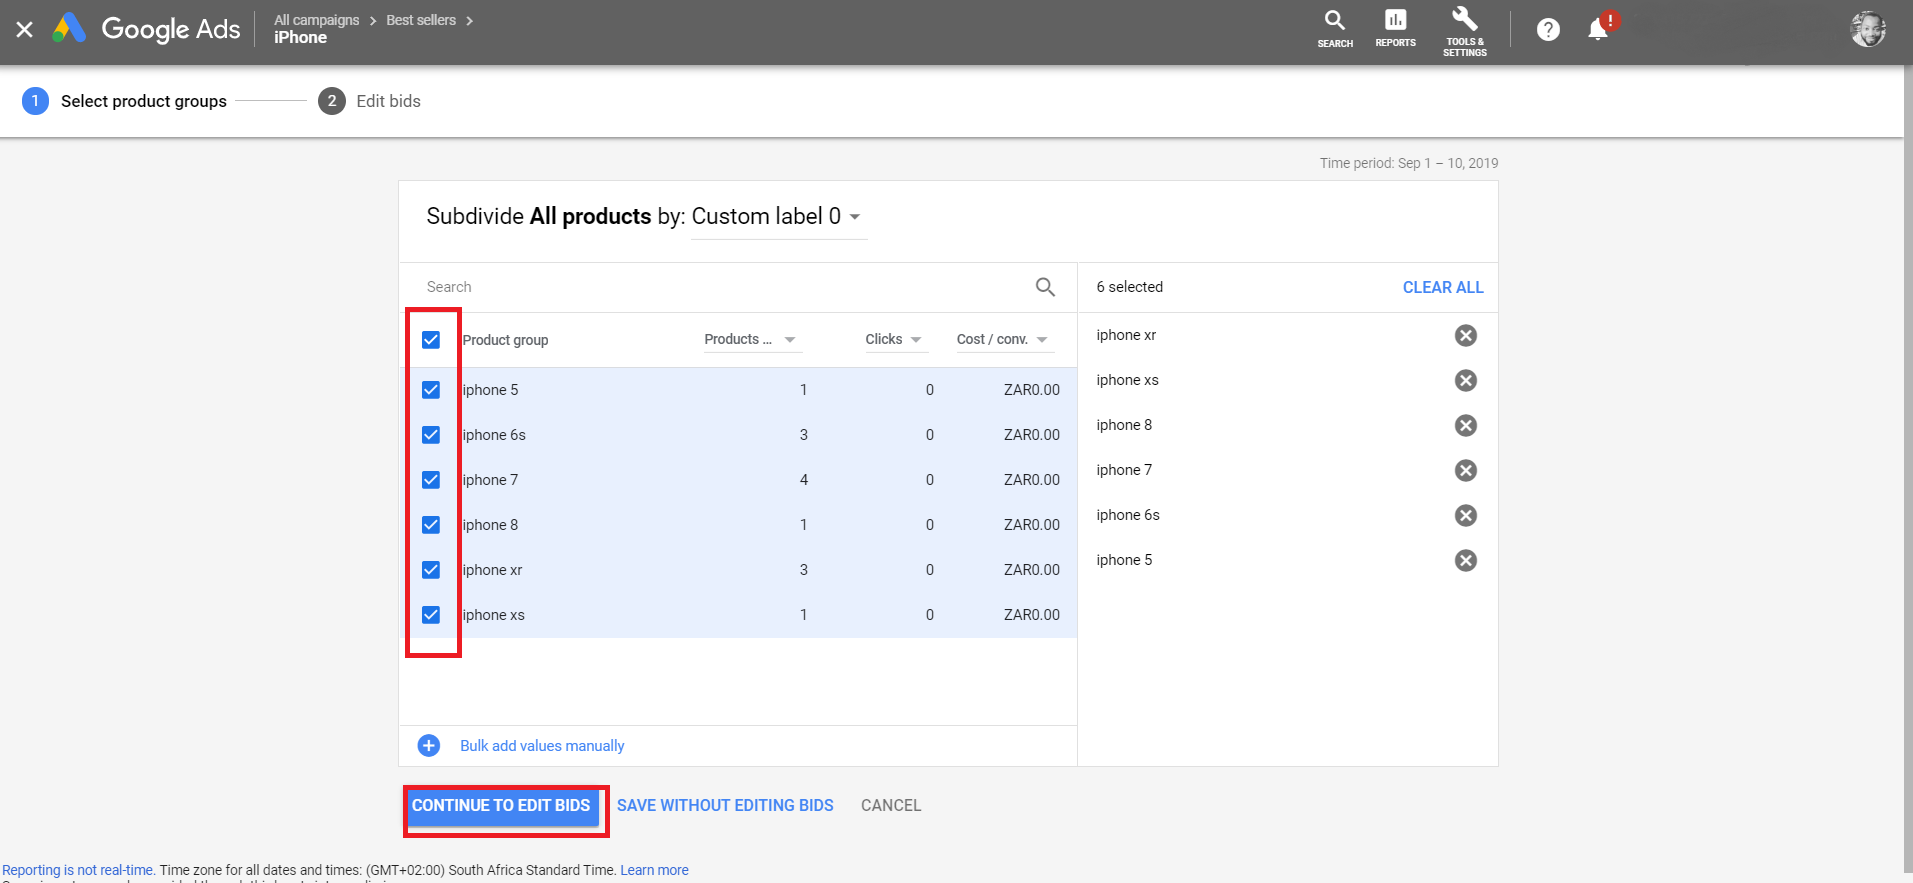
Since you want to use the same campaign for all the iPhone products, select all of the iPhone models, then click Continue to Edit Bids.
You can edit your bids for each product type as needed. Then click Save.

With your custom labels set, now you can get a more detailed insight into the performance of each of your product groups and allocate your budget accordingly.
Was this article helpful?
That’s Great!
Thank you for your feedback
Sorry! We couldn't be helpful
Thank you for your feedback
Feedback sent
We appreciate your effort and will try to fix the article