In many cases, you may find that the data fields in your e-commerce platform do not match the attributes that are required by the channels on which you want to list your products. For example: If you sell shirts that are one-size fits all, and Google requires each product listed to have a specific size, your products may be rejected and will not appear on the Google XML feed.
ShoppingFeeder's Map Attributes feature helps you to overcome this problem by enabling you to create a relationship between the attribute in ShoppingFeeder and the data in your online store. The Attribute Mapping process does not affect the data in your store and can be changed at any time.
To get started with Mapping Attributes, follow the steps below:
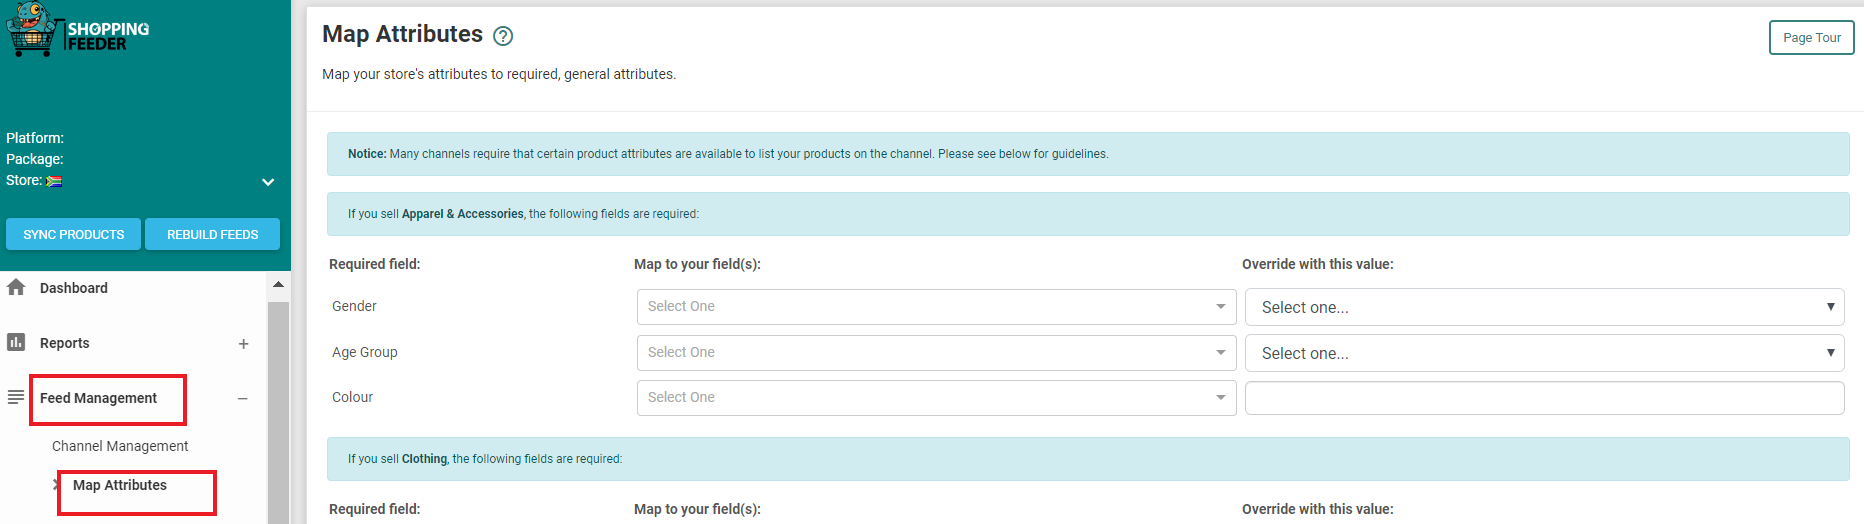
ShoppingFeeder will automatically populate attributes (fill in attribute values) using the standard data fields that exist in your e-commerce store. For example, ShoppingFeeder will automatically map the brand field in your store to the brand attribute in ShoppingFeeder. However, if these fields are not to your liking, you can use Attribute Mapping to override the defaults.
To map a field, select the field from the drop-down list to create a new mapping between your store attributes and ShoppingFeeder.

Overriding all values
If you wish to override the mapping with a single value (i.e. if you want all of the brand attribute values to be the same) you can enter a text value into the input box.

You can also Map Categories through the ShoppingFeeder dashboard.
Was this article helpful?
That’s Great!
Thank you for your feedback
Sorry! We couldn't be helpful
Thank you for your feedback
Feedback sent
We appreciate your effort and will try to fix the article